Requirements
- Debian 9.1 installed on a bare-metal machine or on a virtual private server. Preferably, the installation must be performed with minimal software requirements.
- The network interface card configured with a static IP address.
- Access to root account or a user with root account privileges via sudo.
- A domain name, private or public, with the proper DNS A records configured. In case you don’t have a DNS server configured at your premises, you can access Nagios via server IP address.
Initial Configuration
Before we start to install Nagios from sources, make sure the system meets all the software requirements for compiling and installing Nagios. In the first step, update your system repositories and software packages by issuing the below command.apt updateapt upgrade apt install wget unzip zip bash-completion
Next, set up the name for your system by executing the following command:
hostnamectl set-hostname nagios.server.lan
Verify machine hostname and hosts file by issuing the below commands.
hostnamectl
cat /etc/hostname
cat /etc/hosts
Finally, reboot the system in order to apply the new hostname.
init 6
Nagios is a web-based monitoring application with some parts written in PHP server-side programming language and other CGI programs. In order to run Nagios PHP file scripts, a web server, such as Apache HTTP server, and a PHP processing gateway must be installed and operational in the system. In order to install Apache web server and the PHP interpreter alongside with all required PHP modules needed by Nagios 4 to run properly, issue the following command in your server console.
apt install apache2 libapache2-mod-php7.0 php7.0
After Apache and PHP have been installed, test if the web server is up and running and listening for network connections on port 80 by issuing the following command with root privileges.
netstat –tlpn
In case netstat network utility is not installed by default in your Debian 9 system, execute the below command to install it.
apt install net-tools In case you have a firewall enabled on your system, such as UFW firewall application, you should add a new rule to allow HTTP traffic to pass through the firewall by issuing the following command.
ufw allow WWW
orufw allow 80/tcp
In case you want to use iptables raw rules to allow port 80 inbound traffic on the firewall so that visitors can browse the Nagios Core web interface, add the following rule.
apt-get install -y iptables-persistent
iptables -I INPUT -p tcp --destination-port 80 -j ACCEPT
systemctl iptables-persistent save
systemctl iptables-persistent reload
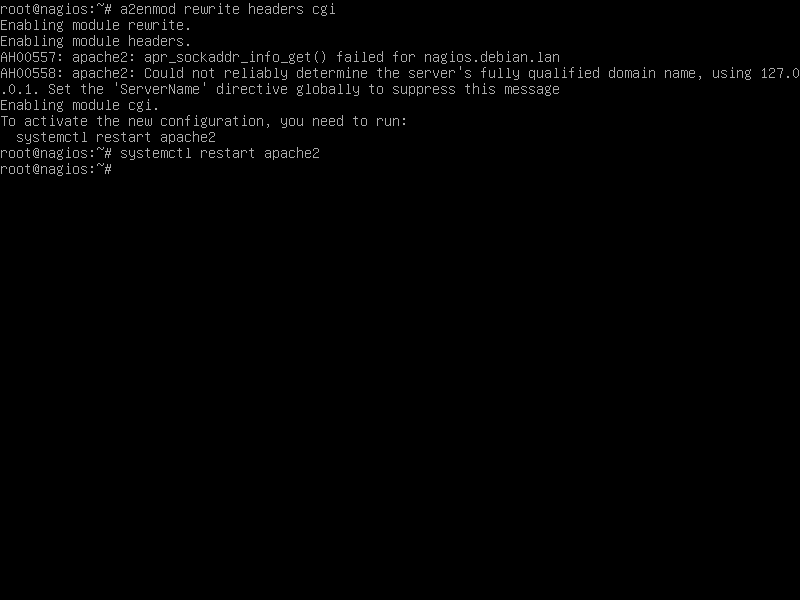
Next, enable and apply the following Apache modules required by Nagios web application to run properly, by issuing the below command.
a2enmod rewrite headers cgi
systemctl restart apache2
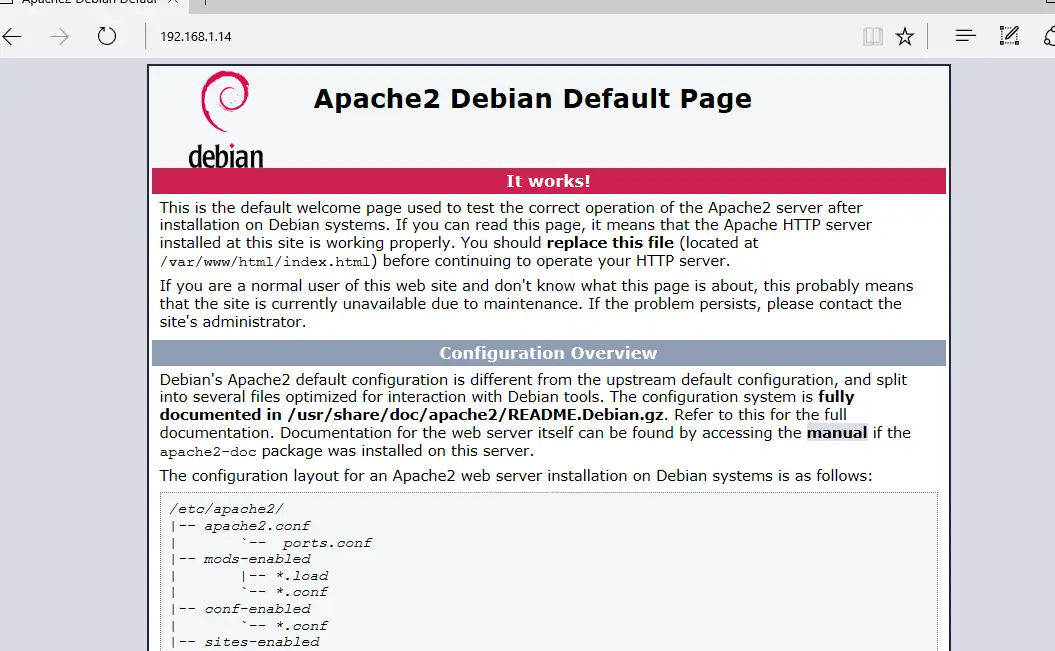
Finally, test if Apache web server default web page can be displayed in your client's browser by visiting your Debian machine IP address or domain name via HTTP protocol, as shown in the below image. If you don’t know your machine IP address, execute ifconfig or ip a commands.
http://192.168.1.14
In the next step, we need to make some further changes to PHP default configuration file in order to assure that the PHP timezone setting is correctly configured and matches your system physical location. Open /etc/php/7.0/apache2/php.ini file for editing and assure that the following lines are setup as follows.
date.timezone = Europe/London
Replace the timezone variable accordingly to your physical time by consulting the list of timezones provided by PHP docs at the following link http://php.net/manual/en/timezones.php.
Restart apache daemon to apply the changes.
systemctl restart apache2
After you’ve made the required changes, create a php info file and restart apache daemon to apply changes by issuing the following commands.
echo ''| tee /var/www/html/info.php
systemctl restart apache2
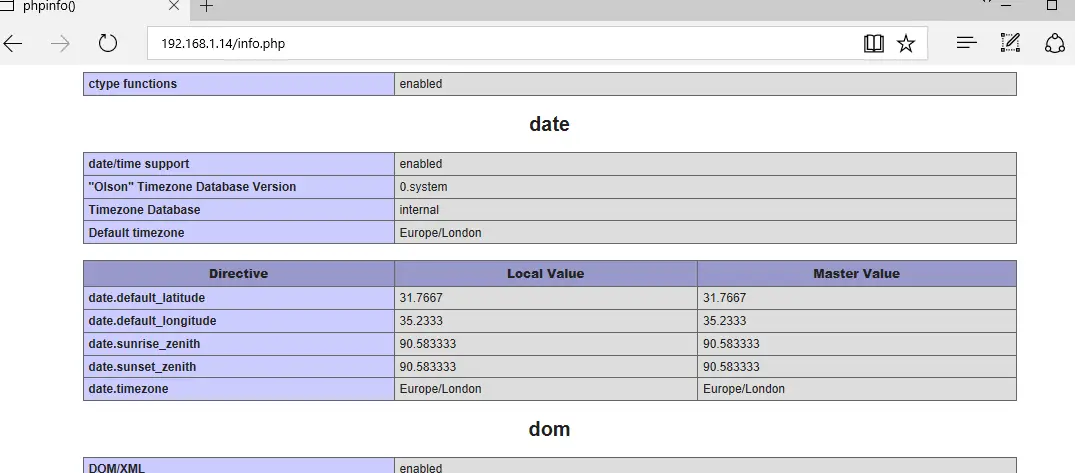
Check if the PHP time zone has been correctly configured by visiting the phpinfo script file from a browser at the following URL, as illustrated in the below image. Scroll down to the date setting to check the php timezone setting.
http://192.168.1.14/info.php
Install Nagios Core
Before downloading and compiling Nagios Core from sources, first make sure you install the following pre-required packages in your system, by issuing the below command.apt install autoconf gcc libc6 make apache2-utils libgd-dev
After all necessary dependencies and packages for compiling Nagios
from sources are installed on your Debian system, visit Nagios official
website at https://www.nagios.org/downloads/nagios-core/ and download the latest version of Nagios Core stable source archive by issuing the wget utility, as shown in following command excerpt.wget https://assets.nagios.com/downloads/nagioscore/releases/nagios-4.3.4.tar.gz
After Nagios source tarball has been downloaded, extract the tar archive and enter the extracted nagios directory, with the following commands. Run ls command inside nagios extracted directory in order to list the source files.
tar xzf nagios-4.3.4.tar.gz
cd nagios-4.3.4/
ls

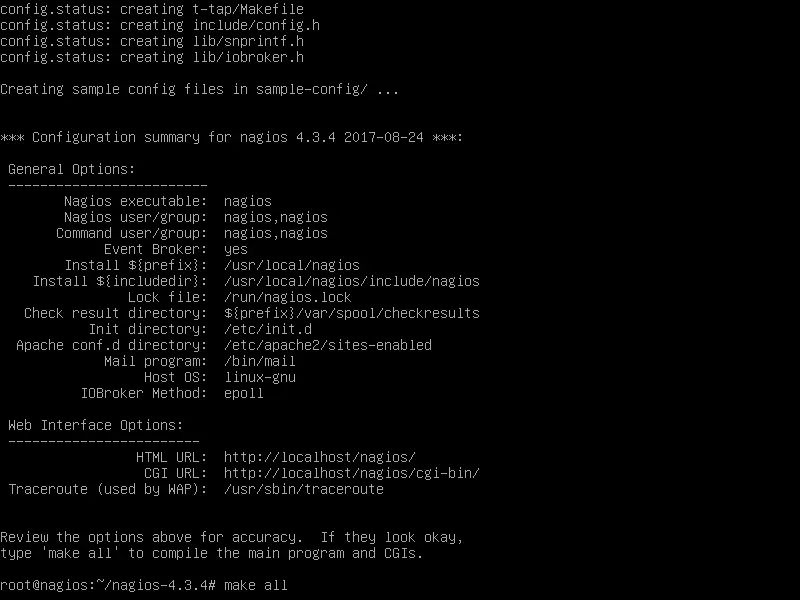
While you are inside the Nagios extracted sources directory, start Nagios compilation process from sources by issuing the below commands. First, configure Nagios to be compiled with Apache web server http configuration path pointing to sites-enabled directory.
./configure --with-httpd-conf=/etc/apache2/sites-enabled
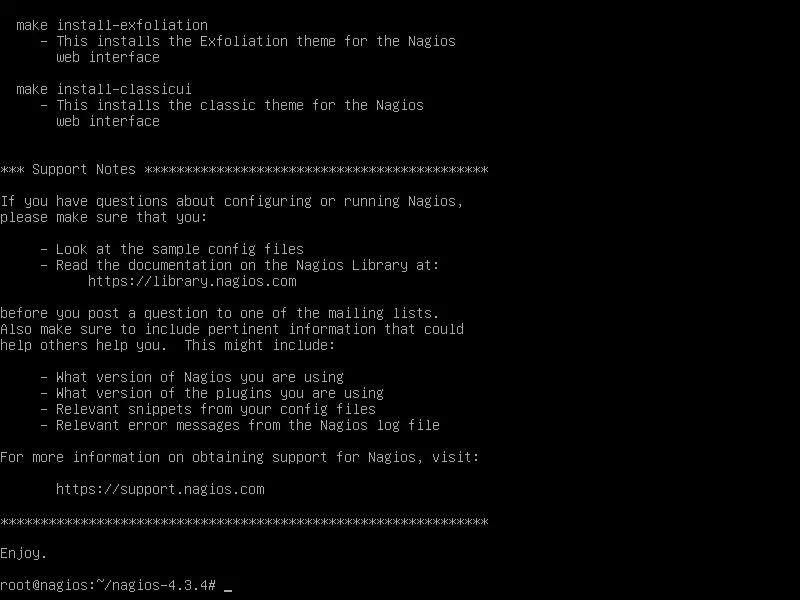
Next, compile Nagios by issuing the following command, as illustrated in the below images.
make all
Next, create the nagios system user and group and add nagios account to the Apache runtime user in order for the nagios user to have the required permissions to access web resources.
useradd nagios
usermod -a -G nagios www-data
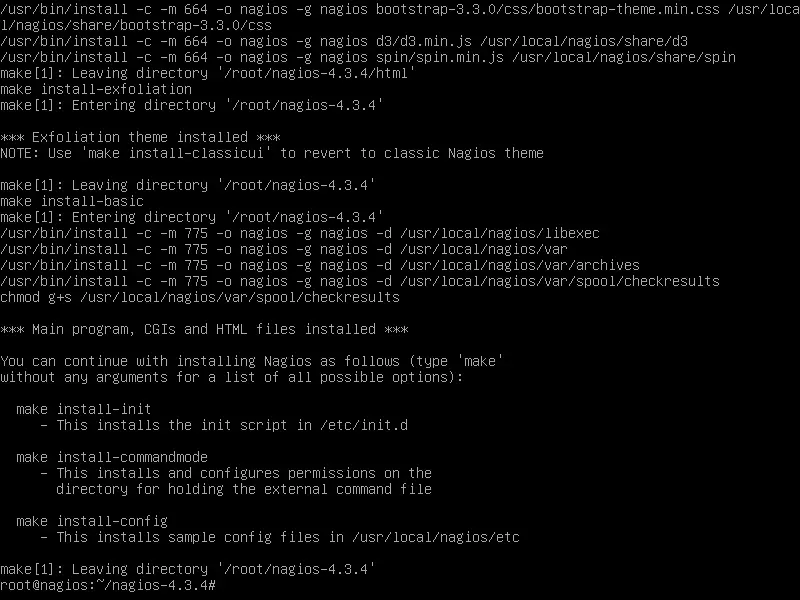
Now, start to install Nagios binary files, CGI scripts and HTML files by issuing the following command. The final output of the make install command should display the binary locations, as shown in the below image.
make install
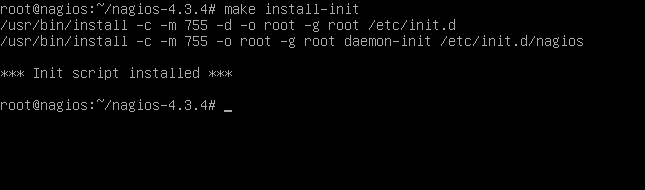
make install-init
systemctl enable nagios.service
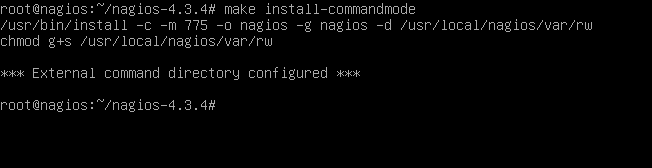
make install-commandmode
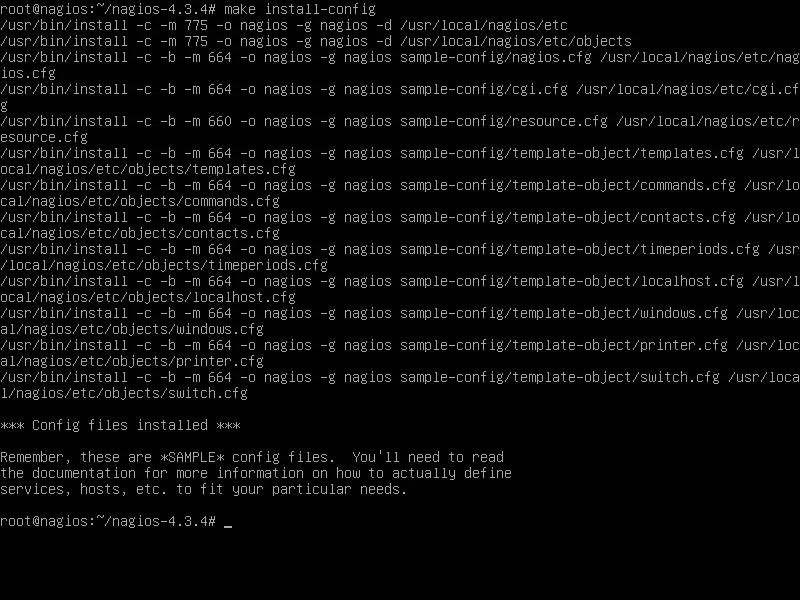
make install-config
make install-webconf

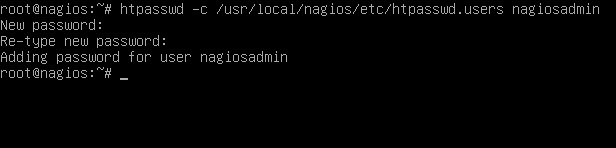
htpasswd -c /usr/local/nagios/etc/htpasswd.users nagiosadmin
In order to access Nagios web panel, first, restart Apache HTTP server and start Nagios service by issuing the following commands.
systemctl restart apache2
systemctl start nagios
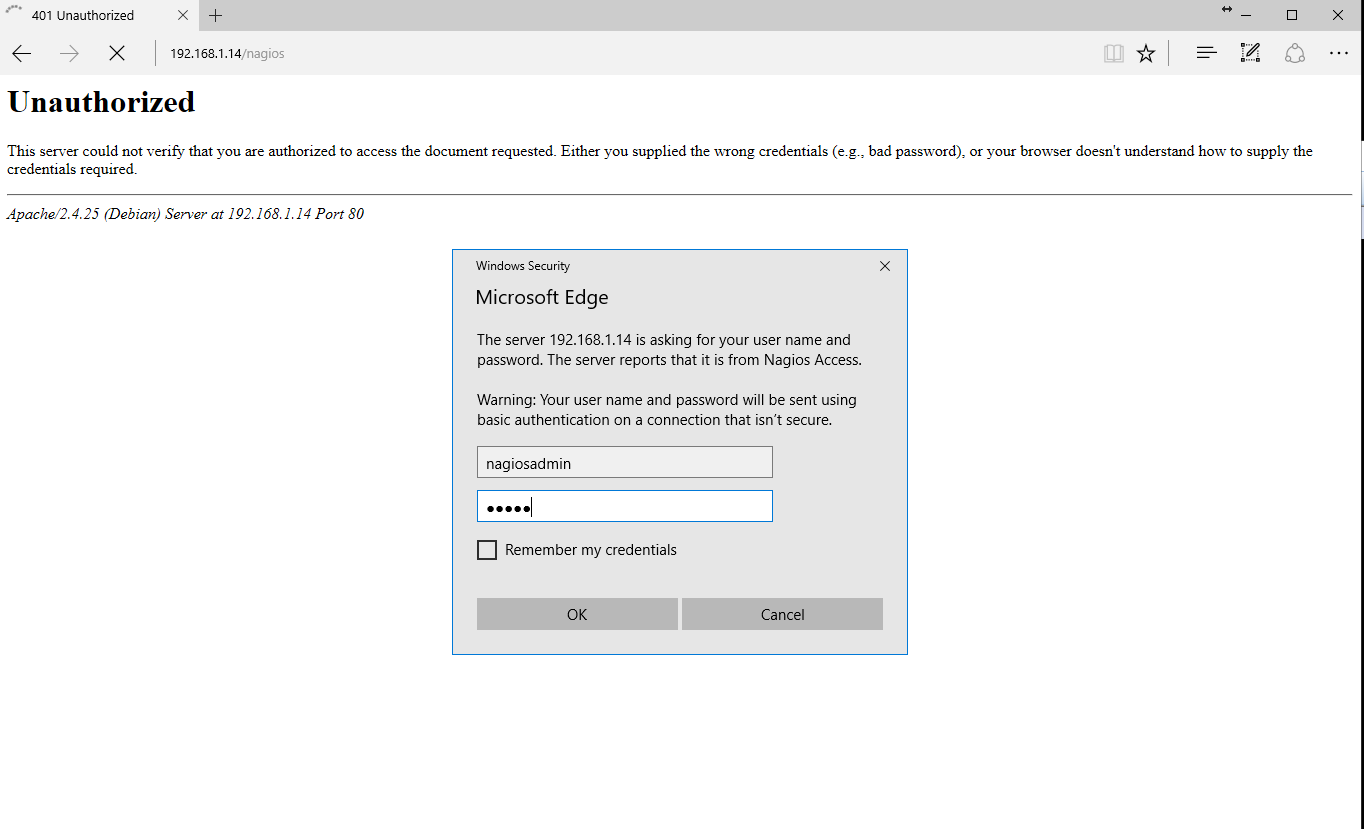
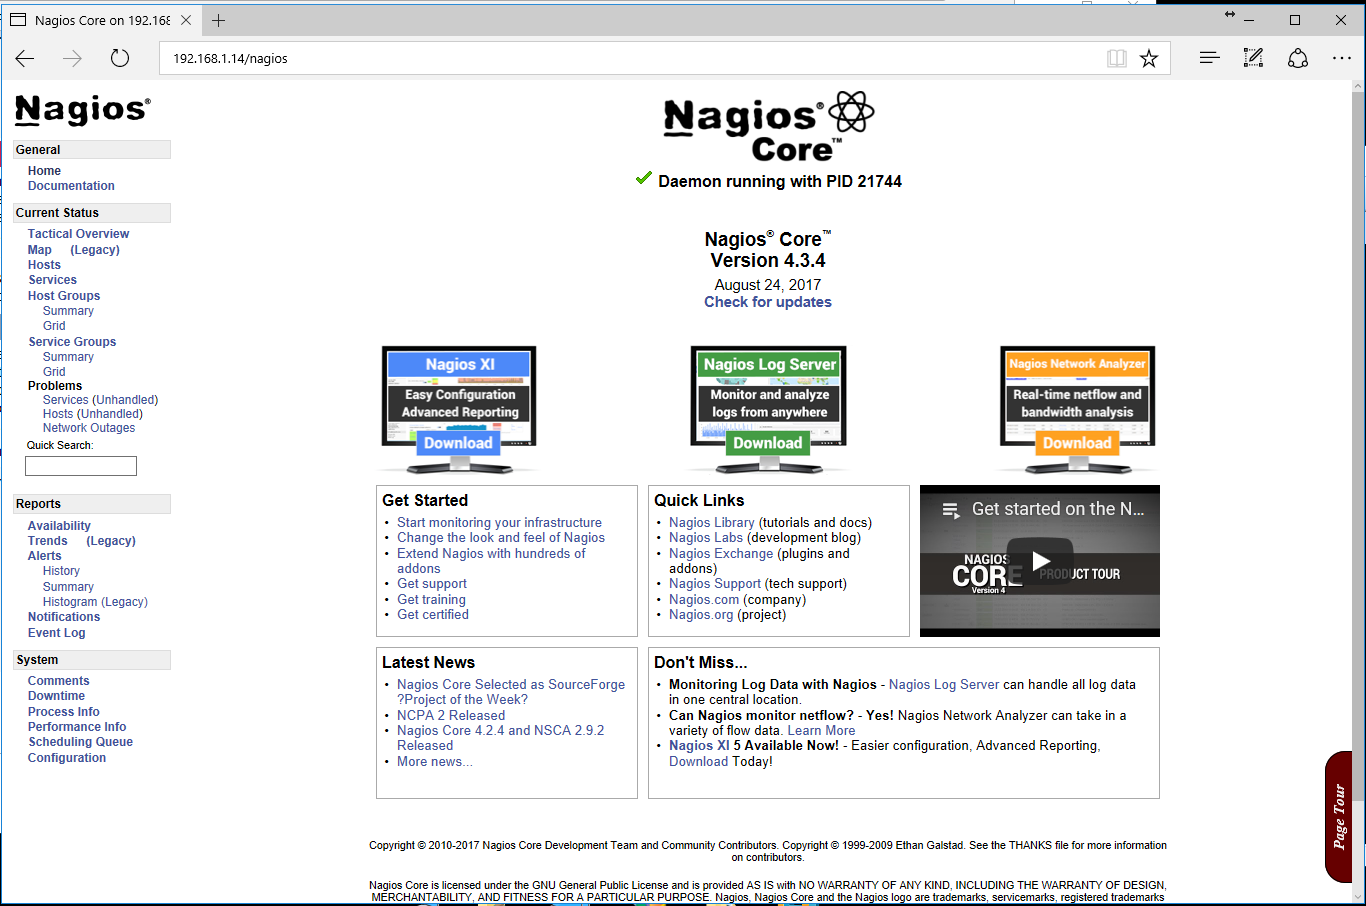
Then, log in to Nagios Web Interface by opening a browser and visiting your server’s IP address or domain name or FQDN and append /nagios URL path via HTTP protocol, as illustrated in the below screenshots. Use the nagiosadmin user with the password configured earlier for this user in order to login to Nagios web interface.